Sensior®
For an accurate inspection and measurement of rotationally symmetrical components
What is Sensior®?
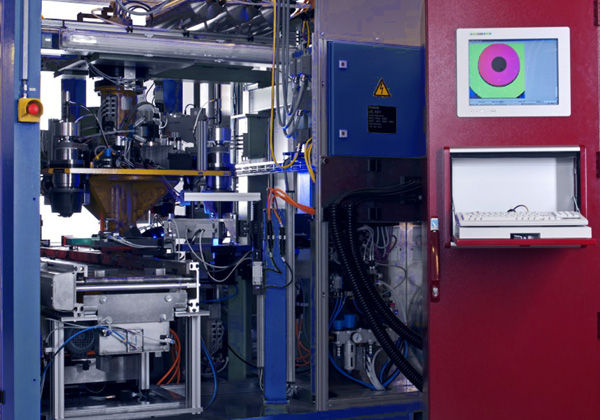
Sensior® is a fully automated inspection cell for rotationally symmetrical components. In addition to inspecting surface defects using 3D technology, the test part is also measured precisely. The problem here is often the high weight load of the workers. Here, the laser light section method can be used to inspect and evaluate through the three-dimensional height profiles.
Applications:
Inspection of cast parts. Depending on the version of the system, both rotationally symmetric and complex shaped parts can be inspected. Daimler AG uses Sensior® to inspect vehicle brake disks. Callipers, drive shafts, etc. are also inspected quickly, reliably and with high process stability. The cycle time for full inspection and measuring incl. handling and sorting of a vehicle brake disk out of grey iron, for example, is just 4.5 seconds.

You want to check surfaces safely and automatically?
Contact us to find specific solutions for your company. In the last 40 years we have solved many more tasks than we can list here.
Advantages
The castings are checked from all sides for surface defects such as blowholes, pores or other defects. Detected defects are measured and documented. The data obtained in this way enables the sustainable improvement of the casting process. At the same time, the dimensional accuracy of the cast part is checked. The inspection method is resistant to surface defects such as contamination and is adapted to the harsh conditions in the foundry environment. Sensior® tests completely slip-free with minimal cycle time, so only 100% suitable parts are finished after a test.


Principle
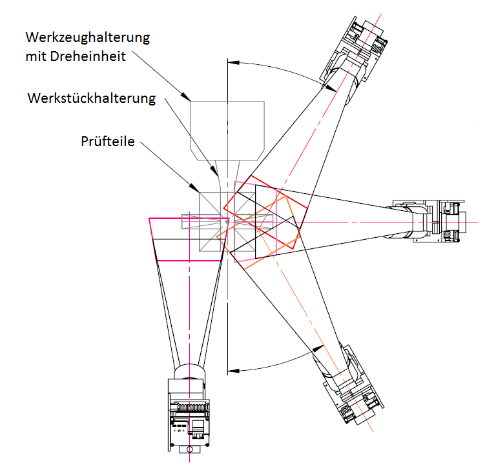
The contactless laser light section method is used to capture a three dimensional height profile of the test part. Then this information is evaluated by our proven Visioncheck® software. This software allows for fast and flexible adaptation to new part geometries or updated requirements, without a need for programming knowledge. The dimensions of the inspected cast part and potential defects are captured at the same time. Both feeding of the parts and separate outputting of OK / NOK parts is performed automatically by a robot integrated in the booth.
More solutions
Surface Inspection
- Surface Defects
- Waviness, surface structure
- Local anomalies, color, gloss level, texture
Weld Seam Inspection
- Weld-solder seams
- Tactile laser seams in the car body area
- Inert gas seam control (e.g.: Mig Mag)
